This post was most recently updated on March 2nd, 2020
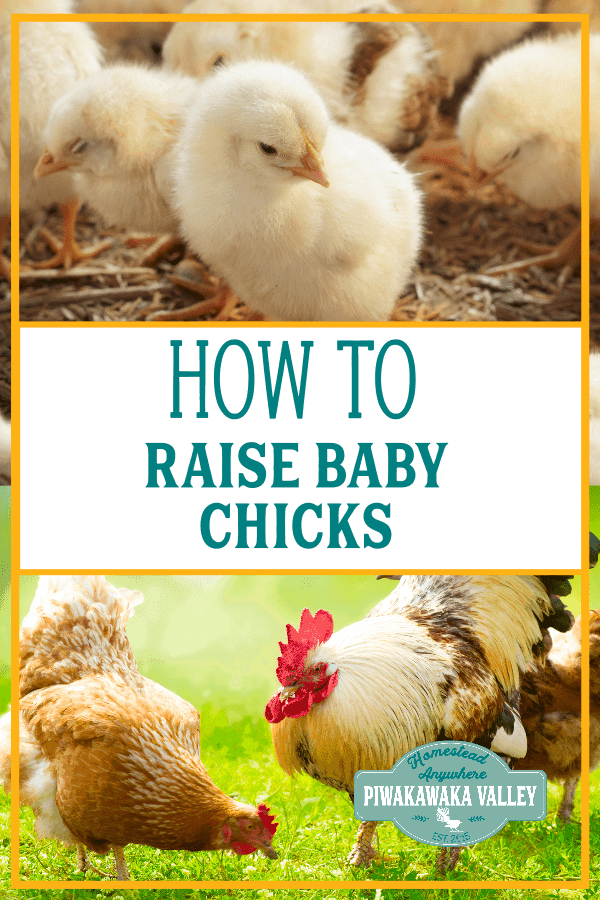
Chickens are one of the easiest farm animals to keep once they are adults. However raising baby chicks is difficult, and can result in many deaths if you are not raising your baby chickens correctly.
Please read: This information is provided for educational purposes only and is not intended to treat, diagnose or prevent any disease. We encourage you to make your own health care decisions in partnership with a qualified health care professional.
This post contains affiliate links, this means at no extra cost to you, we make a commission from sales. Please read our Disclosure Statement
To successfully raise baby chicks you need to have the right equipment, and be super careful in the first couple of weeks.
Read here if you are planning on incubating your own eggs
Buying baby chicks
You can purchase chickens at several stages of development—it all depends on how long you’re willing to wait for eggs.
- Day-old chicks are available directly from hatcheries. Most farm suppliers do one or two chick orders a year, so you can get your chickens where you plan to get your feed. They’re usually under $3 each. You will have to wait about 6 months for eggs.
- Ready-to-lay pullets are 20 weeks old and just about to start laying. They’re more expensive than day-olds, but of course, you get your eggs sooner. They can go straight to the coop and are all females. These, too, can be ordered through your farm supplier from the hatchery.
- Mature laying hens are harder to come by, unless you have someone with a small flock nearby who wants to replace older hens and will sell their “old girls” to you.
Here is more information about raising Quail.
Before you bring chicks home
If you are buying ‘day old’ chicks (that can be up to a week old in some instances!) you need a place to raise the chicks, this is commonly called a brooder.

![]()
It can be as simple as a large box or plastic tote, or a custom built room or shed. I like to use the expandable chicken brooder for large batches of chicks, but for smaller clutches of 5-10 chicks we use a large plastic tote.
You will need a heat source to keep the chicks warm.
Ideally you will use a heat lamp and a separate light. This allows the chicks to experience darkness at night which is better for their growth and development. At a push you can use an incandescent light bulb hung above the chickens head height.
You will need a container for water, and one for feed

I have used tuna tins in the past, but I find that the newest chicks seem to get stuck in them and get wet and cold. Ideally you will use a specialized chick waterer and chick feeder. They are designed to keep the chicks out of the food and water and to stop them pooping in them too.

![]()
![]()
For bedding it is good to use pine shavings, or simple plain newspaper. The bedding will need to be kept dry and not soiled.
Set up the Brooder
To set up your brooder, scatter the bedding and fill the waterers and feeders. Place the waterers and feeders around the edges of the heat lamp’s heat—not too far away from the center but not right under it, either. Place a thermometer probe on the bedding underneath the lamp, and turn on the lamp. The lamp should heat the area to 95 F.
Depending on the outdoor temperature, it may take a few hours for the brooder temperature to stabilize, so keep checking and adjusting the lamp height as needed. You’ll tweak it again later, but you want to be in the ballpark of 95 F now.
Prepare the chicks area
Before you bring the chickens home, set up the heat lamp, cover the floor with shavings and fill up the water and food containers. Make sure you are using special chick crumble that is designed for day old chicks.
When the chicks arrive they will be hungry, thirsty and stressed, you will need their home warm and set up to immediately place them in to.
Immediate access to food and water will help calm them and provide critical nutrition. While chicks don’t require food for the first three days or so after hatching, they may still be hungry, and feeding them immediately will help to calm them.
Picking up new baby chicks
If you are getting chicks delivered in the post, they will probably give you a call in the morning as soon as they arrive. If you are going to get them from the hatchery, make a time that is in the warmer part of the day.
Sit the chick box on the floor of the car in a warm, secure spot. Keep dogs and children away from the box!
Make sure you drive straight home with your baby chicks and take them straight to your brooder.
Before you put your chicks in their brooder
Look over your chicks and make sure they are all active and happy.
It is important to examine the new chicks closely. Some may have been squished, stressed, or otherwise not made the trip.
If you have small children, take the first peek without them present if you think they might be upset by the sight of a dead baby chick.
Don’t stress about one or two dead chicks. Sadly, that is just part of raising baby chicks, and any good hatchery will send an extra one or two to make up for the potential loss.
But if more than one or two of a box of 25 chicks is dead, or if they’re wet or otherwise messed up in some way, contact the hatchery immediately, as this is not acceptable and they need to compensate you.
RELATED: what is better hen or incubator
Introducing baby chicks to the brooder
Pick up each chick, look them over and just as you place them in the brooder, dip the end of their beak in the water dish. This ensures that they will immediately know where to go to drink.
Once everybody is out of their box, watch them for a few minutes. They should all find the water and the feed within an hour or two.
If you see or hear a baby chick wandering around lost and peeping loudly, it’s either cold or is having trouble finding water or feed. If it’s outside the circle of warmth cast by the heat lamp, you can gently usher it back underneath.
Checking the brooder temperature
While having a thermometer is handy, the best way of knowing how warm the chicks are is by listening and watching them.
Cold chicks will huddle together and peep loudly. Hot chicks will spread out and walk around with their wings out, sometimes they will also pant.
Each week you can lower the temperature until by 6 weeks they should be able to go without a heater in most areas. If your place is particularly cold, you may need it for longer than this.
Check the chicks bottoms
Baby chicks get a condition called ‘pasty bottom’ where their poop gets stuck around their bottom preventing them from pooping. Chicks can die from pasty butt.
To check for pasty butt, hold the chick upside down and inspect its anal vent.
If you see poop stuck to the vent area, use a warm, wet washcloth to wipe it clean. If this doesn’t work, you may need to use scissors to cut away the down feathering near the vent, although this can be difficult with very young chicks.
Pasting up is nothing to joke about. You can and will lose chicks to it if you don’t clear their anal vents. Check every day. Also, using electrolytes or gel can help minimize the chicks’ stress and consequently help prevent pasting up.
If you have children, be careful of over-handling. If chicks are pasting up, make the kids leave them alone until the problem is gone. Chicks that are pasting up are stressed chicks.
Maintaining the brooder
Daily you need to give the chicks fresh food and water. Remove soiled or wet bedding and replace with dry, clean bedding.
Keeping the baby chick’s bedding fresh will keep things smelling good and will prevent health problems such as chilling.
After the first couple of weeks, as the birds begin to feather in, they’re less susceptible to chilling and a lot easier to care for.
Baby chicks will get their waterers and feeders filthy with bedding. Clean it up as much as you can.
RELATED: what can you NOT feed chickens
Getting ready and moving outside
As your baby chicks grow, you can slowly get them used to outdoor temperatures. When they’re large enough, and feathered in, you can move them to their permanent chicken coop.
- Gradually lower the temperature. Each week, lower the temperature by 3 degrees C / 5 degrees F until the brooder temperature reaches outdoor temperatures. Adjust this as necessary so that the chicks are comfortable—not huddling under the lamp (too cold) or scattering to the edges (too hot).
- Give the baby chicks some outside time. Starting at around two or three weeks old, if the outdoor temperatures are warm (over 18C/65 F), you can bring the chicks outside for short periods of sun and foraging.
- Move them to the coop. By five or six weeks of age, the chicks are ready to move to their main coop. Or, if the brooder is already in the main coop, the heat lamp and brooder can now be removed. When you move the chicks, keep them closed in the coop for a day or two rather than letting them free-range, so that they learn that the coop is “home.”
Feed the chicks twice a day, and ensure they always have fresh, clean water. Now you can clean the coop weekly or as required. Your young hens will start laying eggs at around four to six months of age.