
This post was most recently updated on April 1st, 2021
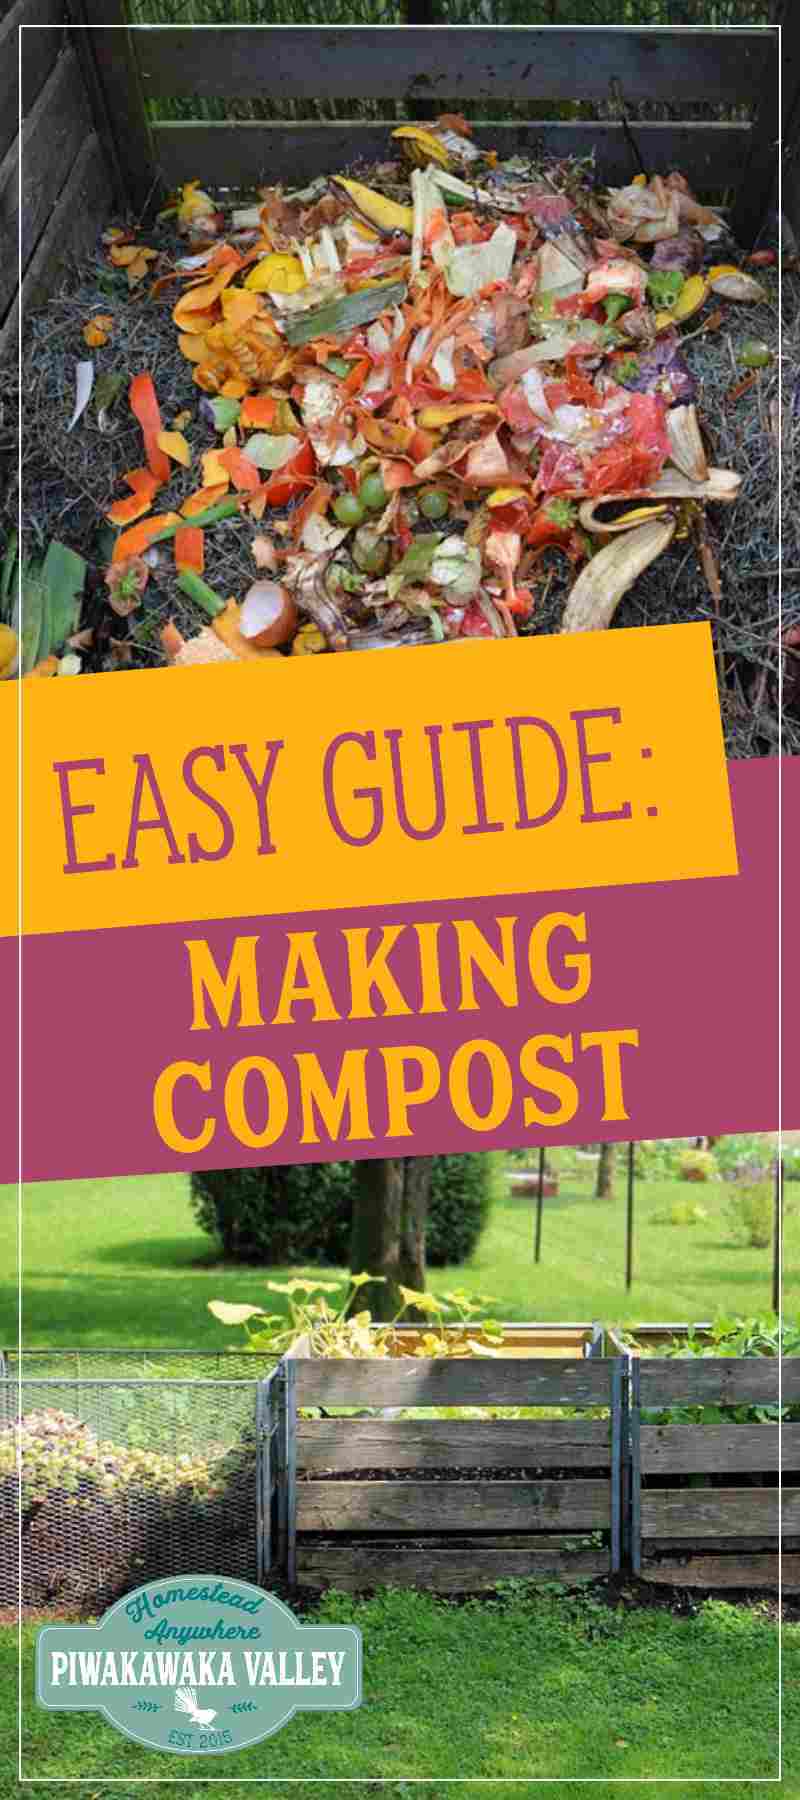
Having a compost pile is key to growing a productive garden. Starting a compost pile from scratch is often seen as daunting and people don’t know how to build a compost heap, so many people just avoid it for fear of ‘doing it wrong’.
Please read: This information is provided for educational purposes only and is not intended to treat, diagnose or prevent any disease. We encourage you to make your own health care decisions in partnership with a qualified health care professional.
This post contains affiliate links, this means at no extra cost to you, we make a commission from sales. Please read our Disclosure Statement
Compost has so many benefits for the garden, I really encourage you to get composting in your own backyard too.
There is a huge range of ways to build compost piles from scratch, and with the following tips, you will have your own successful compost pile in no time!
Starting a compost pile from scratch
There are several methods in constructing a compost pile, pick one from the three below that will work best for you.
A Compost Trench
One of the easiest ways of composting is one I learned from my Grandfather. He had an amazing garden and always had a trench running down it.
He would simply add the days scraps to one end of the trench and then cover that part with a good layer of soil. The next day he would add the scraps to the next portion along the trench.
When the trench was full, he simply dug another one right along side the last one. In this manner he would work his way all over the garden. Once he reached the far side, he simply started again on the other side.
The only real limit was it was really only for smaller volumes of vegetable scraps.
Compost Bins
There are several choices for a bin:
- A purchased bin, usually made of plastic.
- T posts in a circle or square then wrapped in wire mesh.
- Bins built out of pallets or fencing rails.
- Roofing tin bins
I like the pallet compost bins. Why? They are cheap (or FREE) and they can hold a fair amount of material in them and they have gaps in the side allowing for airflow.
We have a lot to compost, as our animal houses are all lined in wood shavings, and I like to compost the shavings and poop before adding them to the garden.
Side note: If you looking in to Karl Hammer, he raises chickens on his compost piles, and we are hoping to set up a similar, albeit much smaller, set up.
To get good use out of your piles I recommend doing 3 piles all in a row, each sharing a wall with the next. Like this but with an additional pallet along the front to stop it spilling out:
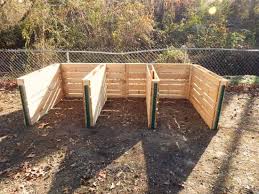
You can tie all the corners together with hay bale twine, and put stakes or metal T posts in the front corners to sure it up, and make it easy to remove the front pallets when you need to move the contents without it falling apart.
The upside to wall sharing is three fold:
1 The bulk is closer together so you benefit from the size of a larger pile – the larger mass heats up faster and stays hot longer, this speeds up the decomposition.
2 The piles are nice and close together when it comes to turning the stack. Compost benefits greatly from the air that gets in from turning it, the more you mix it the more air that gets in so the faster it breaks down. To give it a thorough mix, throw it from one bin over to the next.
3 It uses less materials to build and takes up less space in your yard.
A Compost Tumbler

You can buy or make a compost tumbler. It is simply a barrel on a stand with an axle and a handle that allows you to spin the barrel to aid in mixing the compost.
They create compost faster and easier than a pile due to all the mixing, the only down side is they are kinda small for homestead use but they are perfect for 2-4 people’s general waste.
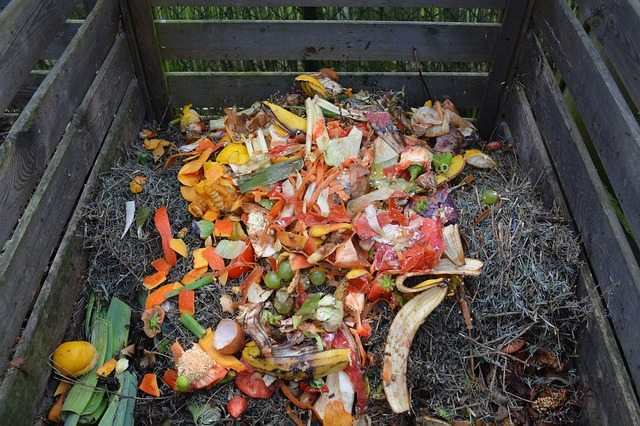
What to Put in Your Compost Pile
You will need a source of ‘brown’ carbon and of ‘green’ nitrogen materials. “Greens” are nitrogen-rich, tend to contain more moisture, and break down faster. “Browns” are carbon-rich, contain less moisture, and take longer to break down.
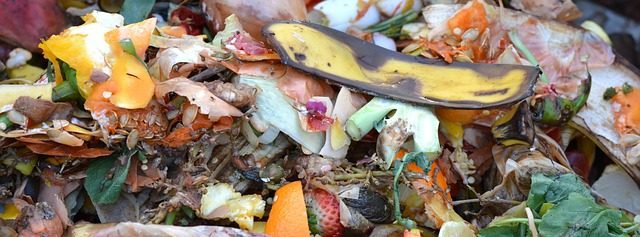
“Greens” include
Vegetable scraps
Grass clippings
Weeds
Coffee grounds
Tea Leaves and tea bags
Animal manure
Bread
Moldy food
Urine
Hair/fur
“Browns” include
Dry leaves
Straw
Shredded newspaper
Cardboard
Toilet paper tubes
Twigs and small branches
Sawdust
Bark
What not to Put in your Compost Pile
If you are learning to make your compost pile from scratch, there are some things you should not put in your compost pile.
Animal products
Anything that was originally in an animal – meat, bones, dairy and eggs (shells are OK but you will need to crush them). These things will make your pile stinky and attract pests. If you have a big, very hot and active pile, you can put these things in the centre of the pile, they will be consumed very quickly.
Diseased Plants
Diseased plants or wood – these will not likely be destroyed in you home pile, and you risk spreading the disease.
Potatoes
Potatoes – you will end up growing them EVERYWHERE
Weeds heads
Weeds with their seed heads attached – same problem as the potatoes.
How to assemble the Compost Ingredients when building a compost pile from scratch
It is not as tricky as some make it seem – you simply stack them in your chosen compost bin/pile/trench.
There are lots of ratios floating around, but basically if your pile is wet and stinky you need to add more browns, if it is dry and slow to decompose add a few more greens.
A successful compost pile has a ratio of at least 3 times as many browns as you have greens is a recipe for success.
So for every shovel or bucketful of greens, sprinkle in 3 of the same measure of browns.
The reality is most homes produce waaaayyyy more greens than browns and you may have to get creative about finding brown sources.
Try your local council, you will probably be able to get tree mulch from them. Fall leaves are another great source of browns.
When compost is hot and the pile is moist and has a good ratio of carbon to nitrogen, a 12 week decomposition is possible. But outside of those parameters, it may take up to a year.
Maintaining your Compost Heap
If it is very wet and rainy where you are, your pile will benefit from a roof over its head and a layer of sticks or a pallet underneath it to aid in draining.
If the pile gets very dry, give it a water. It needs to be kept damp but not soggy to keep the microbiota that breaks down the pile alive and thriving.
Turn your pile weekly for the first month, then monthly for the first season, then once a season until it is ready.
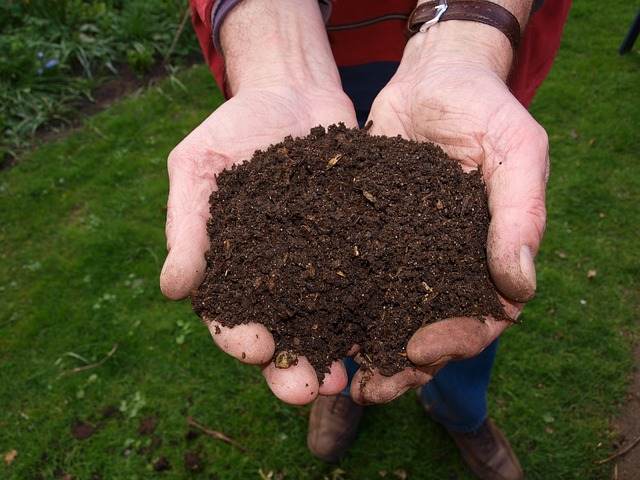
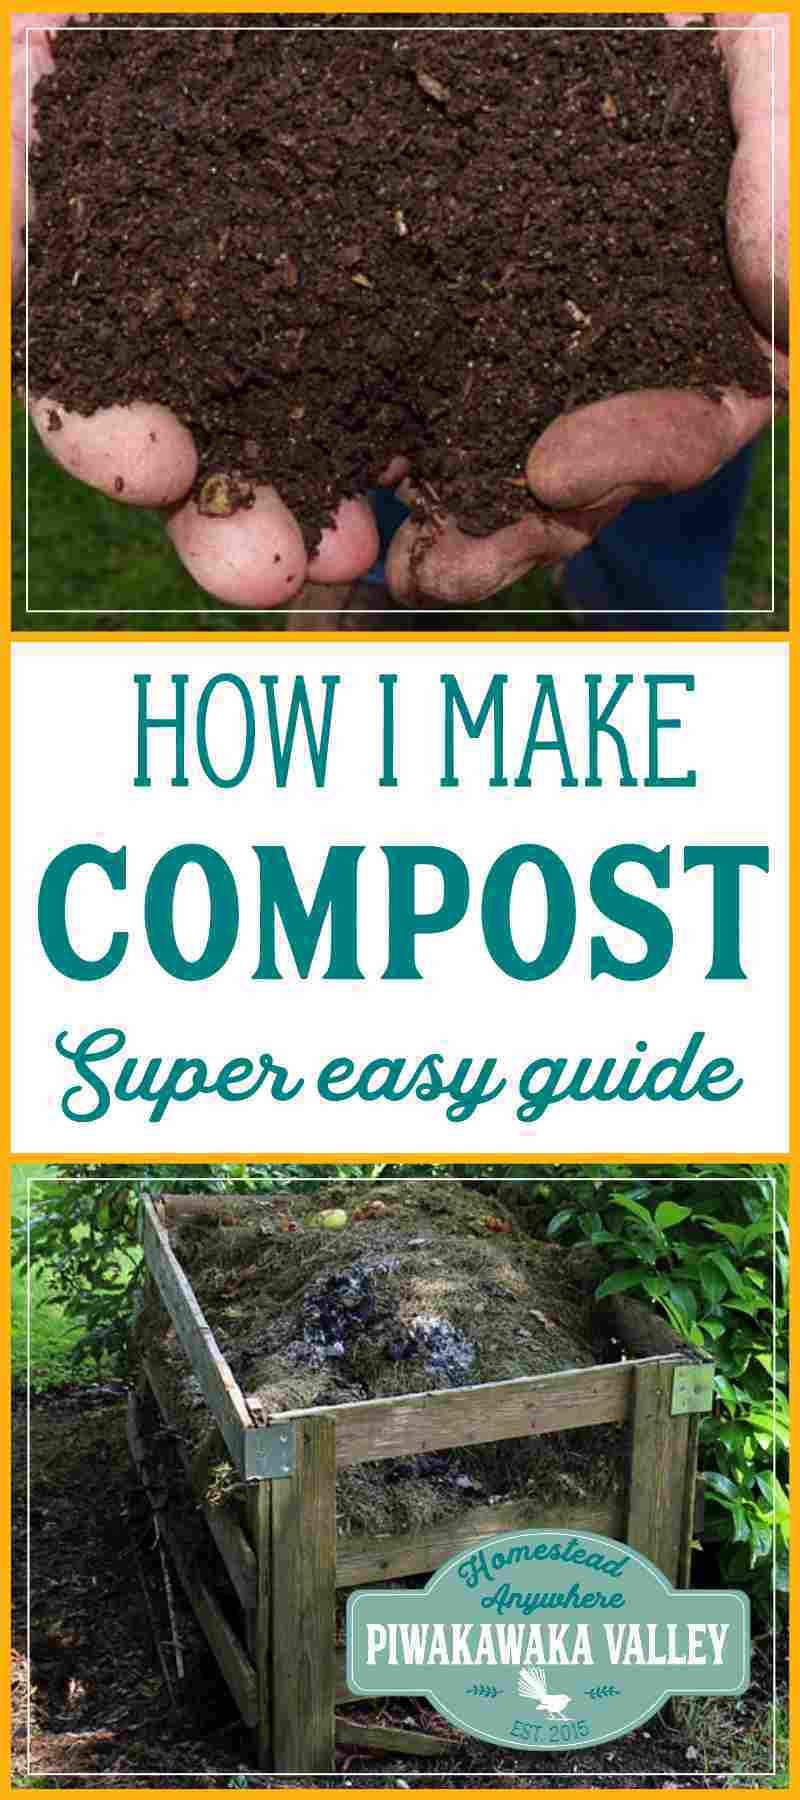
How do you know it is ready? You will have a dark, sweet smelling, crumbly magical soil mix.
Do you have a compost pile at your place? Tell me about it in the comments below!
If you like tips on frugal living, self sufficiency and consuming less, sign up to our newsletter below, I would LOVE to have you!
If you would like help getting the most out of your garden, I would love to help you, find out more here
RELATED: Free Gardening Resources
If you like tips on frugal living, self sufficiency and consuming less, sign up to our newsletter below, I would LOVE to have you
For further reading, I also recommend all of these books. I own every one of them and they are amazing resources!


Please Pin and Share with your friends.
I start making a pile on the top of garden bed after the crops have come out. I keep adding to this for 2-3 mths turning it each two week. I then spread it out over the garden bed and dig it into the soil – wetting and turning it each 2-3 weeks.
I use my compost pile for kitchen vegetable scraps and garden clippings. Because I don’t have a good mix of green and brown items to include, I add some compost accelerator along the way. I start the pile in late fall and keep adding items until the following early fall. Then I dig a large pit and bury the old composting material mixed with the final clippings from my garden. I add some additional compost accelerator, cover it with dirt, let it get wet during fall storms, and then cover it with plastic to “cook” until the following spring. Except for some tough stems, it is all ready to use as my new potato patch. – Margy
Fantastic! It seems like you have found a system that works well for you 🙂